Showing posts with label Silhouette Die Cuts. Show all posts

The East Wind New Release - Aurora Be The Flower

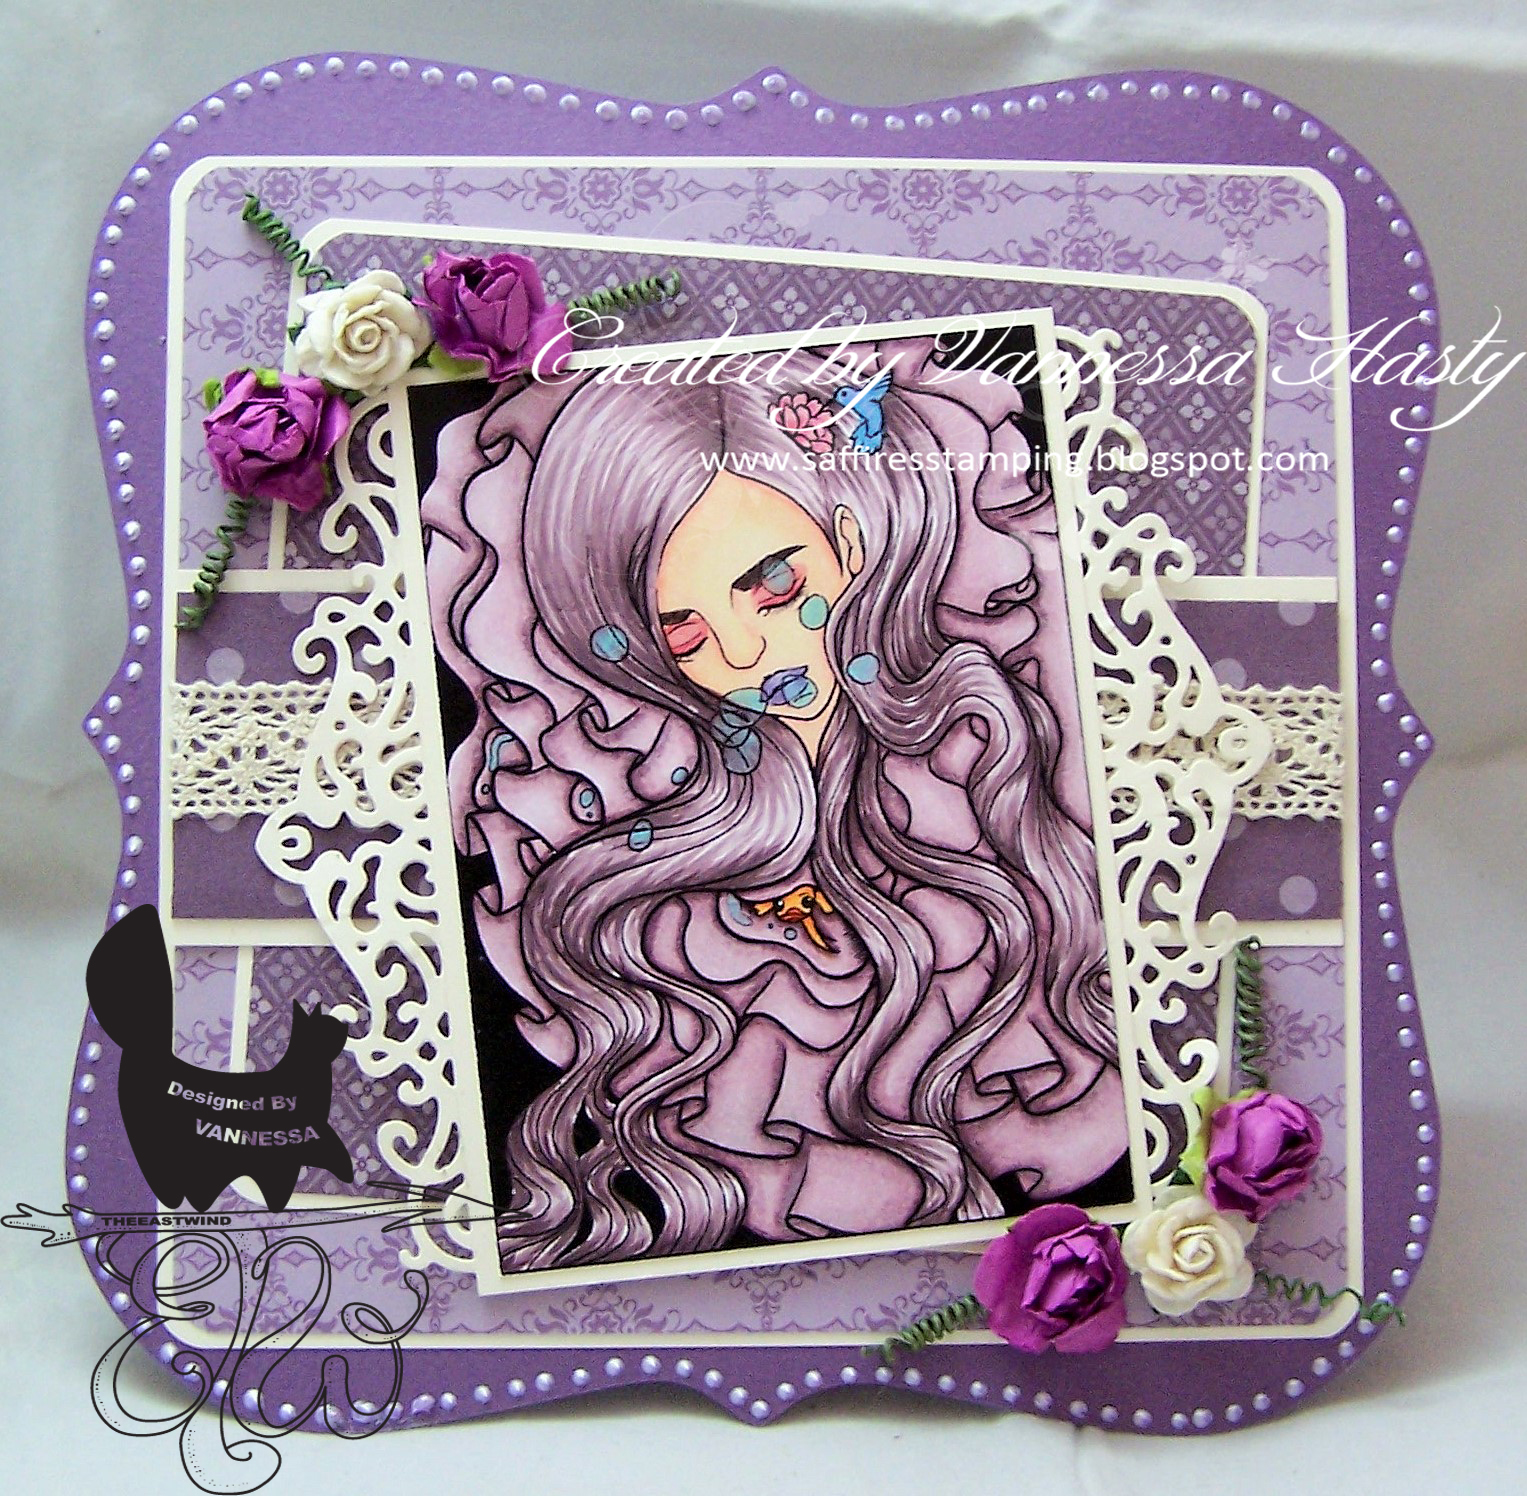
Good Morning and welcome to my new release project for The East Wind. This month I chose to use this gorgeous image - just look at all that fabulous long flowing hair!

I ended up with a monochromatic colour combo completely by accident as the RVs I chose ended up being more purple than I remembered. I was going for a pink dress/top! But...a happy accident it turned out to be as I love it!

Recipe:

Stamps: Aurora Be The Flower from The East Wind

Papers: Perfect Plum, Very Vanilla, Perfect Plum Prints DSP (Retired) & Subtles DSP Stack (Retired) all from Stampin' Up, Super Smooth Card from That Craft Place

Inks: Copic Markers, Clear Wink of Stella

Accessories: Victoria Lace from Stampin' Up, Flowers from Wild Orchid Crafts & Amazon, Lavender Lace Liquid Pearls, Tiara Mini Edgeables Die from Crafter's Companion, Base cut with Silhouette Portrait

Copics Used:
Skin - E50, R00, R11, R02
Hair - V91, V93, V95, V99
Lips  - V22, V25
Eyebrows - E77, E79
Eyeshadow & Flower - RV32, RV34
Dress - RV91, RV93, RV95, RV99
Bird - V01, BG01, BG02, BG05
Fish - YR07, YR12, YR16
Bubbles - BG01

And that's all from me for this post folks! Thanks for stopping by and don't forget to pop on over to the East Wind Blog and check out all the other gorgeous new releases this week and why not join in our challenge whilst you are there too?!

The East Wind Challenge #53 Make Something 3D

Good Morning and welcome to my post for  the new challenge from The East Wind. This time we are challenging you to make something 3D or to add many layers to your project.

I used the gorgeous Lucy Loo Snow Queen and finally made a bow card! It is absolutely huge and has so many layers to it! Love it, but if I did another one I wouldn't add the mats under the patterned paper layers as that made it a bit too bulky and therefore the loops wouldn't fold over so easily.


This card is also for

Recipe:

Stamps: Lucy Loo Snow Queen from The East Wind

Papers: Marina Mist, Night of Navy & Silver Glimmer Paper all from Stampin' Up, Frosty Christmas from Lili of the Valley, Super Smooth Card from That Craft Place

Inks: Copic Markers, Silver Spica Pen

Accessories: Shimmering Snowflakes Dies from Memory Box, Let It Snow Edgeables from Die'Sire, Icicle Border 6002/2036 from Joy Crafts

Copics Used:
Skin - E000, E50, E21, B000, R30, R00
Hair - B32, B14, B16, B18
Eyes & Top - B34, B37, B39
Lips, Nails and Ice Round Eyes - B0000, B00, B01

And that's all from me for this post folks! Thanks for stopping by and don't  forget to pop on over to The East Wind Challenge blog and check out all the other gorgeous cards from the DT and why not join in the fun whilst you are there too?! And don't forget to share your creations using The East Wind images in our Facebook group too.

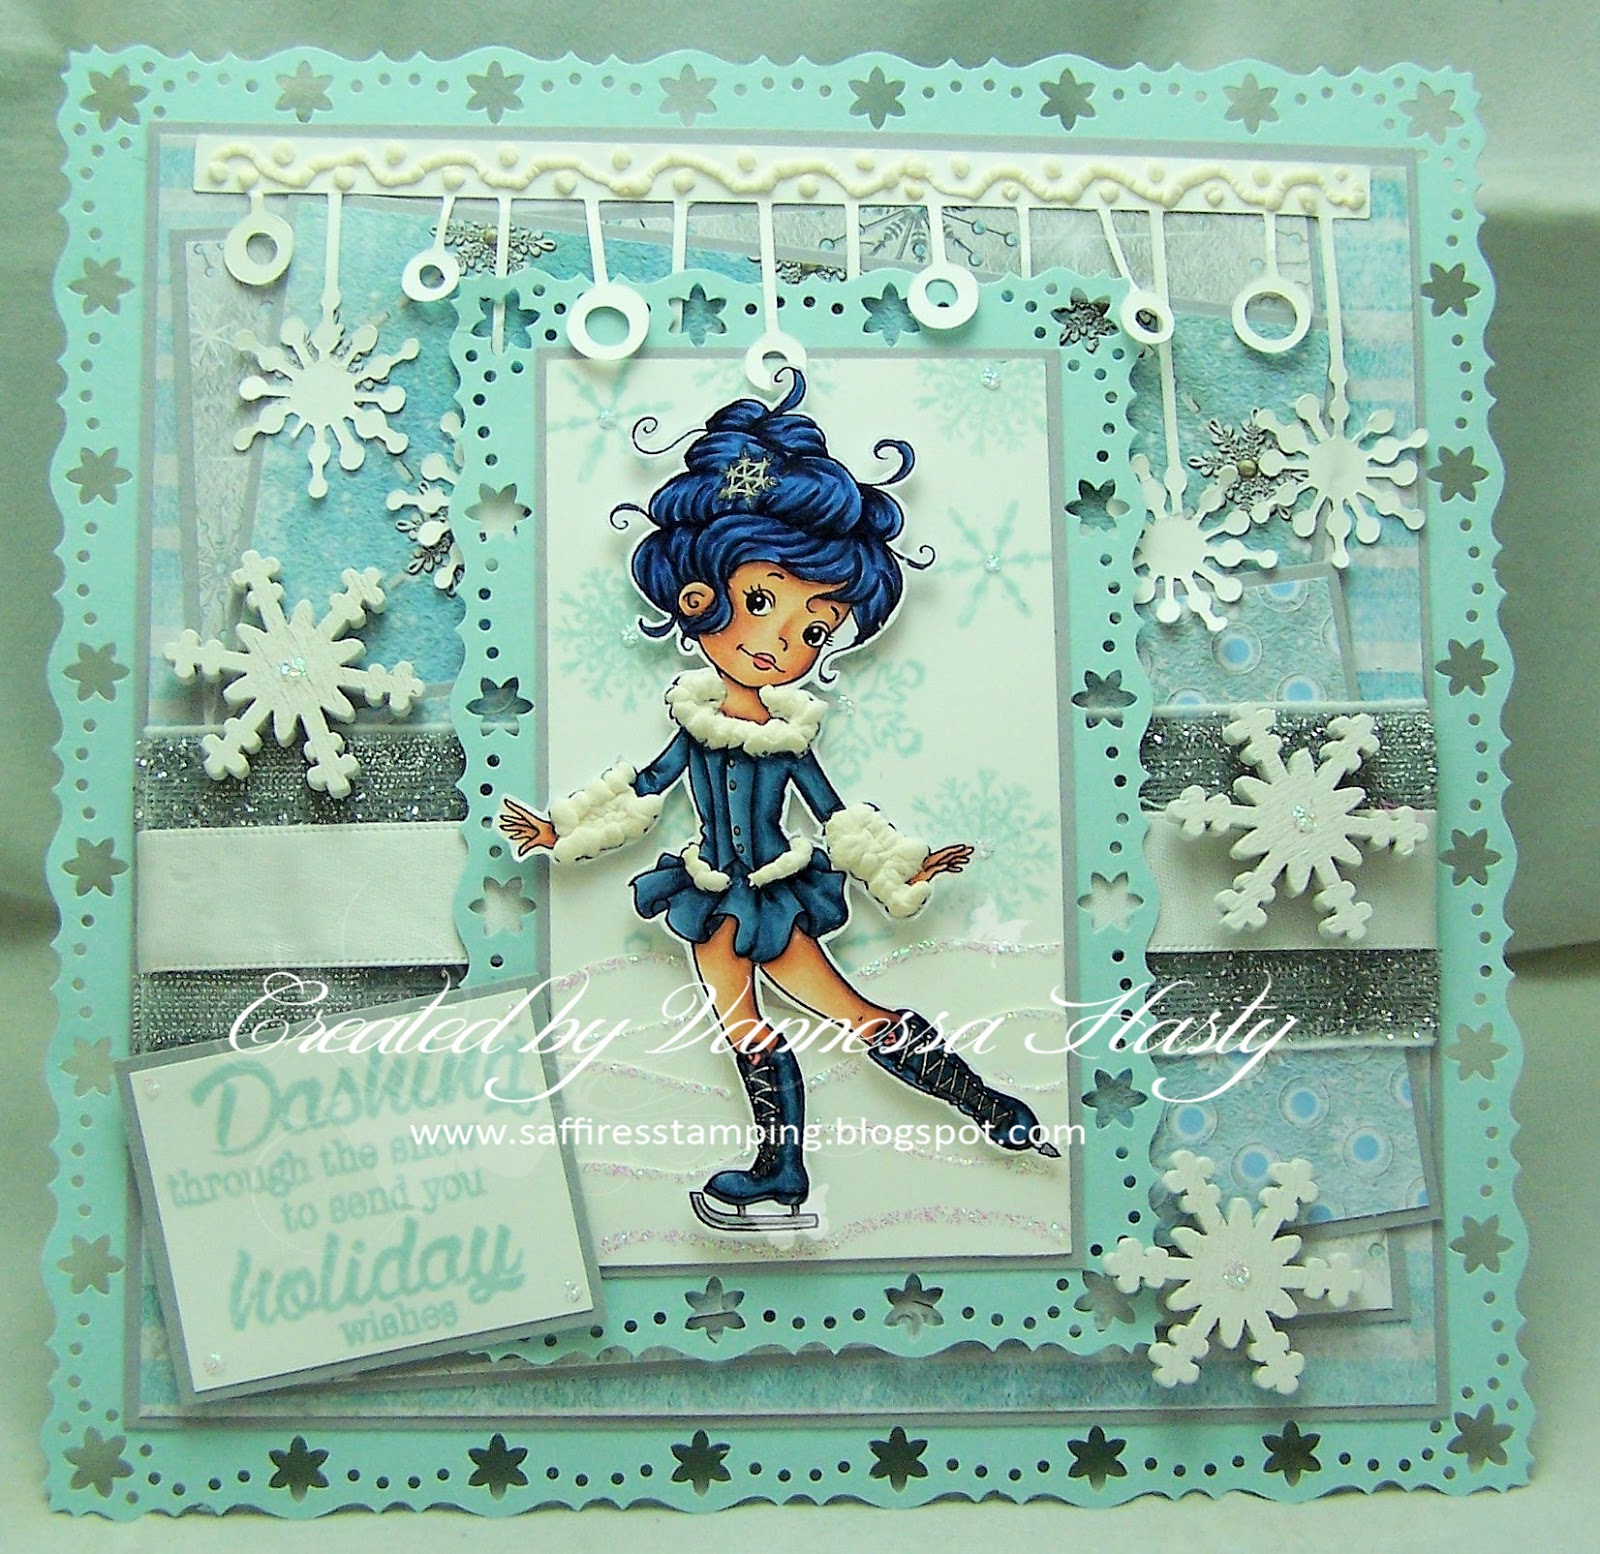
The Paper Shelter Challenge #228 Brr! It's Cold Outside

Good Morning and welcome to my post for the new challenge at The Paper Shelter. This week our challenge is called Brr! It's Cold Outside and we are looking for lots of cold colours in blue, white and silver. Perfect wintry colours, don't you think?!

I used the gorgeous Fantasy on Ice image for my card and kept to a very cold colour palette! Love the wintry feel of this one though.

This card is also for 
Papertake Weekly's Challenge Let It Snow
Stampavie's Challenge #250 Snowflakes
Creative Inspirations Challenge #336 Festive Fun
Glitter 'n' Sparkle's Challenge #163 Add A Die Cut or Punch
Simon Says Wednesday Challenge Christmas

Recipe:

Stamps: Fantasy on Ice from The Paper Shelter, Winter Wishes 6410/0125 & Winter Wishes Stars 6410/0124 both from Joy Crafts

Papers: Soft Sky, Smoky Slate & Whisper White all from Stampin' Up, Winter Paper Bloc from Joy Crafts, Copic X-Press It Blending Card

Inks: Soft Sky from Stampin' Up, Copic Markers, Silver Star Gelly Roll Pen

Accessories: Whisper White Ribbon from Stampin' Up, Silver Ribbon & Wooden Snowflakes both from Sainsbury's, Poinsettia Flourish Punch Around The Page Set from Martha Stewart, White Liquid Applique, Silhouette Hanging Snowflakes Die Cut

Copics Used:
Skin - E000, E00, E21, E11, E04, R20 R30
Hair - B32, B34, B37, B39
Lips & Hearts on Boots - R20, R22
Dress & Boots - B91, B93, B95, B97, B99

And that's all from me for this post folks! Thanks for stopping by and don't forget to pop on over to the Paper Shelter Challenge blog and check out all the other gorgeous cards from the DT and why not join in the fun whilst you are there too?! And don't forget there are always some fabulous prizes to be won too! 


Spooky Street with FaeryInk

Good evening! I decided to make another Hallowe'en decoration yesterday, but finished it too late to photograph so did that today ready for my blog post. On Sunday I went to Tracy Payne's workshop and bought the Hallowe'en houses MDF set and set about making a Spooky Street with them, using traditional Hallowe'en colours and lots of die cuts before finally adding some cute images from FaeryInk.


I absolutely love this and it has to be one of the best things I have made! Even better that I get to keep it for myself too! LOL

Here are a couple of close up of my images, although they haven't cropped out very well :( They look a lot more blurry than in real life, but you get the idea! 

This one is Amber Witchy...

...and this one is Vamp Angel off visiting the houses during her Trick or Treating! 

My Spooky Street is for

Recipe:

Stamps: Vamp Angel & Amber Witchy both from FaeryInk

Papers: Basic Black, Daffodil Delight, Whisper White, Pumpkin Pie, Orchid Opulence (Retired), More Mustard (Retired), Close To Cocoa (Retired),  Lovely Lilac Prints DSP (Retired), Perfect Plum Prints DSP (Retired), Pumpkin Pie Prints DSP (Retired) & Old Olive Prints DSP (Retired) all from Stampin' Up, Copic X-Press It Blending Card

Inks: Black Soot Distress Ink from Tim Holtz, Copic Markers

Accessories: MDF Houses, Softboard Bricks & Black Spider Paper Art all from Dutch Doobadoo, Black Gesso, Silhouette Portrait Die Cuts (Trees, Bats, Ghosts, Pumpkins, Doors, Cat, Lamppost, Fences & Owl on Broomstick

Copics Used:
Amber Witchy
Skin - E000, E00, E21, E11, E04, R20, R30
Hair - BV08, BV20, BV22, BV25, BV28
Eyes - YG11, YG13, YG17
Dress - V01, V04, V05, V06, V09
Hat & Cloak - C3, C5, C7, C9
Orange - YR14, YR16, YR18
Staff - E74, E77, E79, YG01, YG03, YG07

Vamp Angel
Skin - E000, E00, E21, E11, E04, R20, R30
Purple - V12, V15, V17
Green - YG21, YG23, YG25
Black - C3, C5, C7, C9
Pumpkin - YR04, YR68, YR07

And that's all from me for this post folks! Thanks for stopping by!

AliciaBel Blog Anniversary- Hallowe'en Special

Good Morning everyone and welcome to an extra DT post from me for the blog anniversary for the AliciaBel Challenge Blog. As it is Alicia's 2nd year anniversary, all the DT have created some fabulous Hallowe'en decorations to inspire you.

I created a witch themed hanging decoration using some MDF circles from Noor Design and my gorgeous Rare Oddities papers and 3 gorgeous witch digi stamps from AliciaBel. These are from top to bottom, Little Witch, Little Witch Traveller and Little Witch Mermaid. I used my Silhouette Portrait machine for  the sentiment along with lots of the other decorations too.


It is hard to see as it is so long I had to stand far back to photograph them all in! Here are some close ups of each witch though. 


This Hallowe'en decoration is also for

I won't bore you with all the Copic Colour combos (there is A LOT!), but if you desperately want to know them, then feel free to email me! 

Thanks for stopping by and don't forget to pop on over to the AliciaBel Challenge blog and check out all the other gorgeous project from the DT and why not join in the fun whilst you are there?!

Alicia Bel Stamps New Releases - Zombie with Pumpkin

Good Morning and welcome to my DT post for the new releases from Alicia Bel. Alicia has released some gorgeous Hallowe'en themed images this month and I chose to use the fabulous Bombie the Zombie. I do love my zombies, not that I would want to be one unless it was like Liv on izombie, who is, for the most part, still normal, other than her diet!

I used my Silhouette Portrait to cut out lots of zombie themed die cuts and I used some more of that fabulous Rare Oddities paper pad and my MDF shapes, which are slowly coming to an end LOL.


Here is a bit more of a close up so you can see the paper tole layers a bit better.

This card is also for
Creative Inspirations Challenge #331 CAS or Fussy & Fancy (Of course I had to go for Fussy & Fancy!)

Recipe:

Stamps: Bombie the Zombie from Alicia Bel

Papers: Pumpkin Pie, Basic Black, Whisper White, Lucky Limeade (Retired) & Mellow Moss (Retired) all from Stampin' Up, Copic X-Press It Blending Card, Rare Oddities Paper Pad from Graphic 45

Inks: Copic Markers, Chalkola Markers

Accessories: MDF Shapes from That Craft Place, Silhouette Die Cuts - Zombies Border, Gravestones Border, Zombie Hands, Grass, Sentiments and Sentiment Frame

Copics Used:
Skin - BG90, BG93, BG96
Hair - E84, E87, E89
Lips - R24, R27
Eyes - Y11, Y13, Y15, R24
Dress - V2, V15, V17
Shoe - V04, V06, V09
Pumpkin - YR04, YR68, YR07
Candle - BV04, BV08, YR07, Y35, Y38
Sky - C00,  C1

And that's all from me for this post folks! Thanks for stopping by and don't forget to pop on over to the Alicia Bel blog and check out all the other gorgeous new releases from the rest of the DT and why not pop into the store and pick some up whilst you are there too?! Don't forget to join in our monthly challenge, Anything Goes or Scary but Cute, as well!

Ching-Chou Kuik Digital Stamps October Challenge Hallowe'en or Something Spooky

Good Morning and welcome to my DT post for the new challenge at Ching-Chou Kuik Digital Stamps Inspiration and Challenge Blog. This month our challenge is to create something for Hallowe'en or something spooky. Ching-Chou has so many fabulous witch or spooky digis in the store that are all just perfect for this challenge.

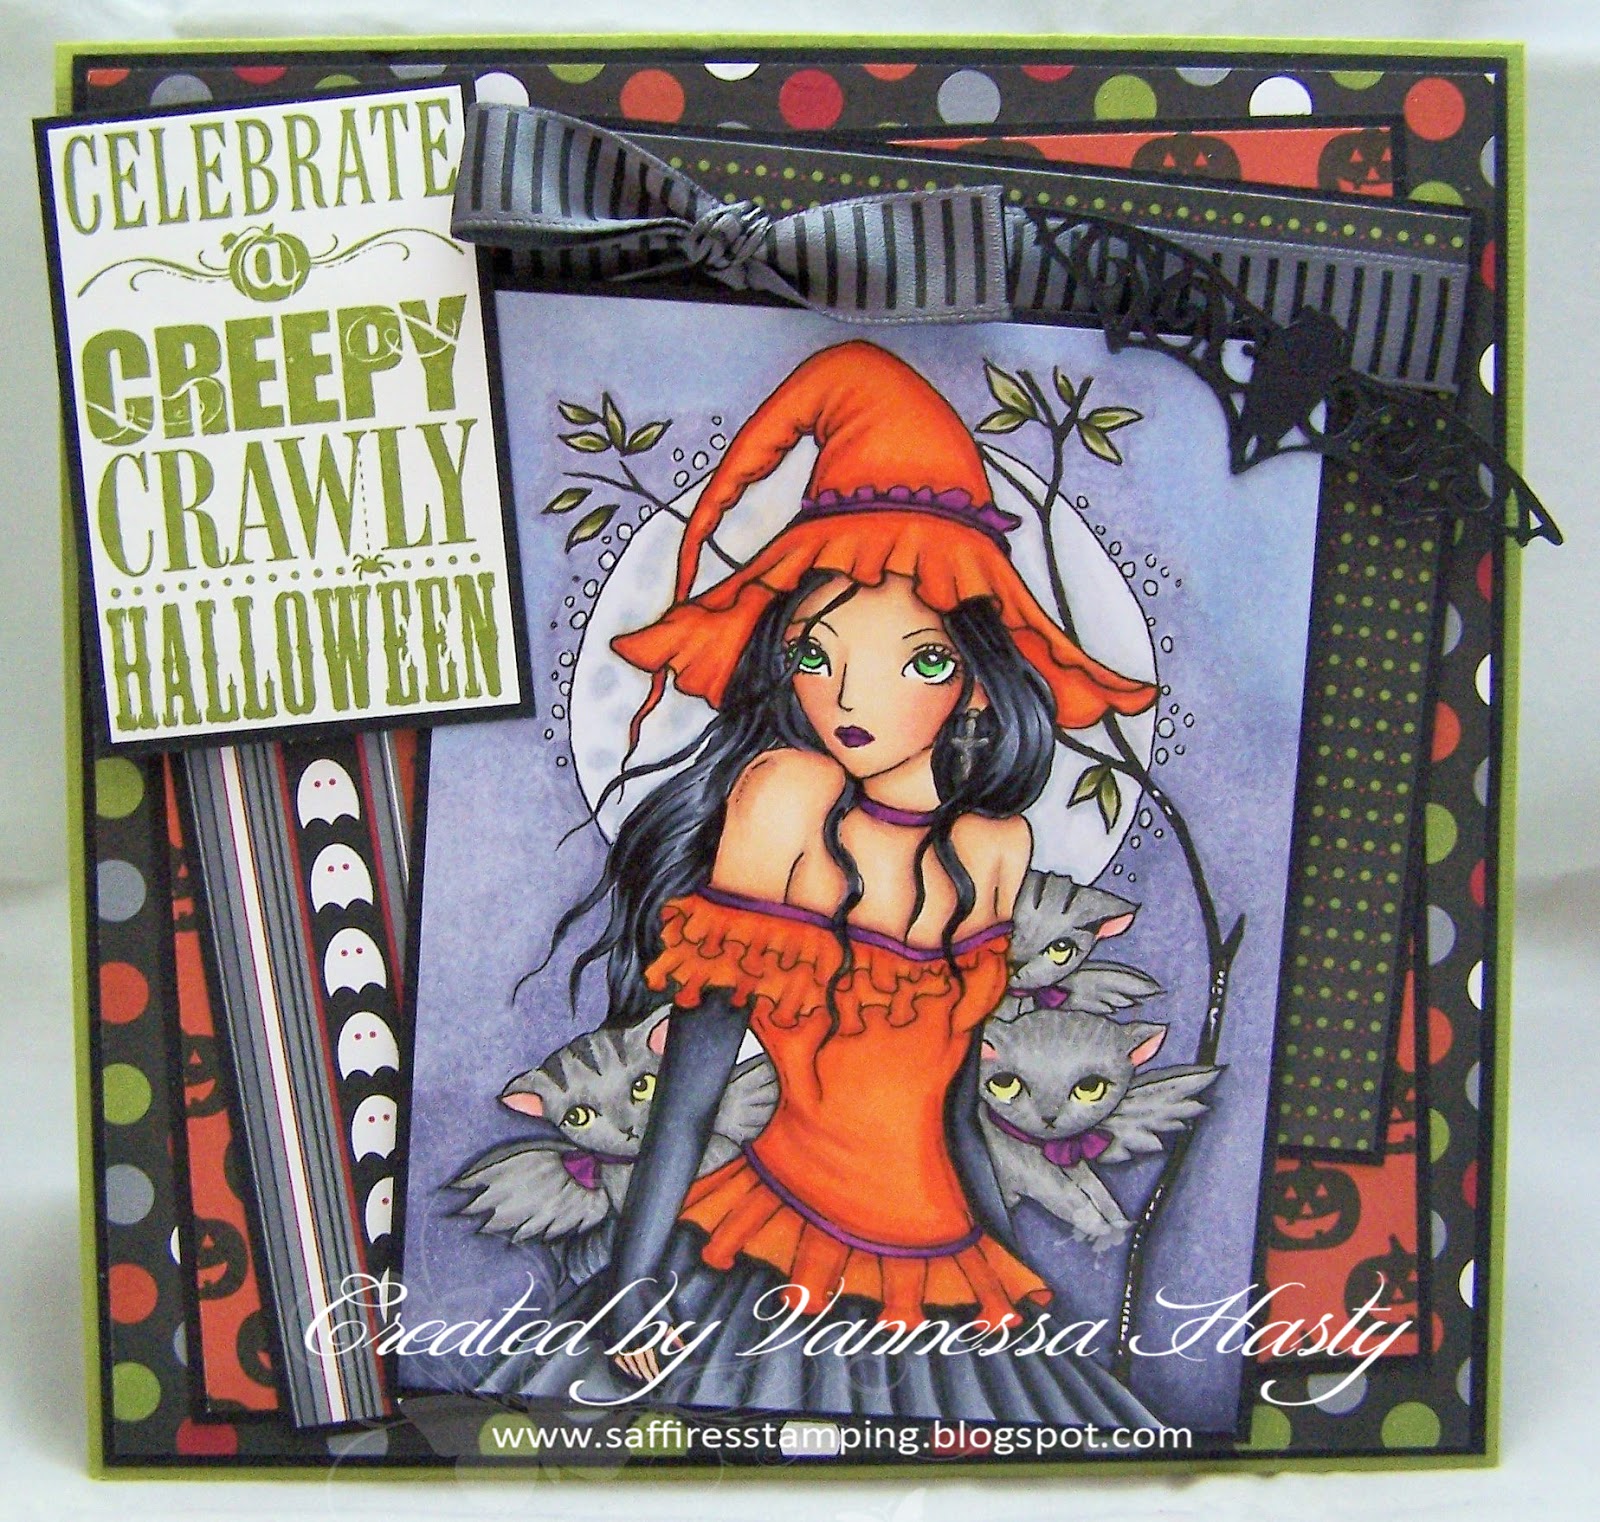
For my card I chose to use the gorgeous October Night, an appropriate name too, don't you think?! I saw another card somewhere in blogworld where the witch's hat was orange and I really liked it, so thought I would try that this time and I love how different it looks, although I think next time I would do the hat and skirt orange and the top some other colour. I think the two orange pieces next to each other are a bit distracting; they need another strong colour between them.


Recipe:

Stamps: October Night from Ching-Chou Kuik Digital Stamps, Halloween Bash from Stampin' Up

Papers: Old Olive, Basic Black, Whisper White & Frightful Sight DSP (Retired) all from Stampin' Up, Copic X-Press It Blending Card

Inks: Old Olive from Stampin' Up, Copic Markers

Accessories: Basic Grey Ribbon (Retired) from Stampin' Up, Silhouette Die Cut (Bat) 

Copics Used:
Skin - E000, E00, E21, E11, E04, R20, R30
Hair, Skirt & Sleeves - C3, C5, C7, C9
Eyes - YG06, YG09
Top & Hat - YR15, YR16, YR18, V06, V09
Cats - T2, T4, T6, Y11, Y13, R20, R30
Leaves - YG91, YG97
Moon - C00, C1, C3
Sky - BV31, BV20, BV23, BV25, BV29

And that's all from me for this post folks. Thanks for stopping by and don't forget to pop on over to the Ching-Chou Kuik Digital Stamps Inspiration and Challenge Blog and check out all the other gorgeous cards from the DT this week and why not join in the fun whilst you are there? As always there are some fabulous prizes and a chance for you to be our next GDT too!

And don't forget to check out the challenges over in our Facebook Group too.

Alicia Bel Challenge #11 Scary but Cute or Anything Goes

Good Morning and welcome to my post for a new design team. AliciaBel have invited me to join their DT and as I love Alicia's images I just had to say yes and this is my first posting for them. Today is the start of the new challenge for October and our challenge is Scary but Cute, a perfect challenge for Hallowe'en. However, if you would prefer to do your own thing, you can still join in the challenge using the Anything Goes theme instead.

I chose to use the gorgeous Lily Munster for my card today. The Munsters and The Addams Family were always big favourites of mine when I was a kid and I loved Lily's dress. The photo is a little dark, but I wanted the shimmery spiders and web to show up. Hope you like her!


This card is also for

Recipe:

Stamps: Lily Munster from AliciaBel, Halloween Bash & Googly Ghouls both from Stampin' Up

Papers: Perfect Plum, Basic Grey, Basic Black, Perfect Plum Prints DSP (Retired) & Howlstooth and Scaringbone DSP (Retired) all from Stampin' Up

Inks: Perfect Plum & Basic Black both from Stampin' Up, Copic Markers, Silver Wink of Stella

Accessories: Basic Grey Ribbon from Stampin' Up, Spiderweb Dies from Papertrey Ink, Spiderweb Punch Around The Page Set from Martha Stewart, Silhouette Die Cuts (Spiders & Bats)

Copics Used:
Skin - G0000, G000, G00, G82
Eyes - G02, G05, G07
Lips - R46, R56, R59
Eyeshadow - BV02, BV04, BV08
Hair- C00, C1, C3, C5, C7, C9
Dress - V91, V93, V95, V99, C3, C5

And that's all from me for this post folks! Thanks for stopping by and don't forget to pop on over to the AliciaBel Challenge blog and check out all the other gorgeous cards and projects from the DT and why not join in the fun whilst you are there too?!

Sassy Studio Designs Sponsors The Outlawz Paper A LA Mode - Banners

Good Morning and welcome to another DT post of mine for Sassy Studio Designs. Lots of sponsorships going on this month, so here's another one from me! Today Sassy Studio Designs are sponsoring The Outlawz Paper A La Mode challenge to use a banner on your project.

A we are nearing Hallowe'en, I thought I would make a Hallowe'en card using the gorgeous Mortisha Honey. I added a short banner using my Silhouette Portrait machine along with some of my fave bat die cuts too.


And a side view...


This card is also for

Recipe:

Stamps: Mortisha Honey from Sassy Studio Designs

Papers: Perfect Plum & Basic Black both from Stampin' Up, Oct 31 Patterned Papers from Fancy Pants, Copic X-Press It Blending Card, White glitter paper from local craft store

Inks: Copic Markers

Accessories: Spiderweb Dies from Papertrey Ink, Wisteria Wonder Baker's Twine from Stampin' Up, Silhouette Studio Die Cuts (Banner, Letters and Bats)

Copics Used:
Skin - E000, E00, E21, E11, E04, R11, R30
Hair - C3, C5, C7, C9
Dress, Lips & Eyeshadow - V12, V15, V17
Eyes - C00, C1, C3

And that's all from me for this post folks! Thanks for stopping by and don't forget to pop on over to the Sassy Studio Designs blog and join in our challenge this week. There is also the monthly progressive challenge in our Facebook Group too.

Art by MiRan September Progressive Challenge

Good evening and welcome to my post for the new Progressive Challenge from the Art by MiRan Facebook Challenge team. This month we are starting to get a little bit seasonal and Mi Ran has drawn a beautiful winter themed image for us. You could make it a non-winter image if you so wish, but I went with the winter and kept to a blue and white monochromatic colour scheme.

I dug my Silhouette Portrait machine out for this one as I am on a mission to cut down on my crafting spending each month and trying to use my Portrait a bit more instead, which is so much cheaper and the studio has so many gorgeous die cuts anyway!

To find out how you can get this image for free, head on over to the Art by MiRan Facebook group and check out my pinned post there. If you joined in last month, you will need to email me. If you didn't then you can follow the link in the Facebook group to buy her at a discount just for this month!


This card is also for  

Recipe:

Stamps: Flower Diva Adoncia from Art by MiRan, Stocking Prints from Papertrey Ink

Papers: Marina Mist & Whisper White both from Stampin' Up, Copic X-Press It Blending Card, Winter Paper Bloc from Joy Crafts

Inks: Marina Mist from Stampin' Up, Copic Markers, Molotov White Paint Pen, White & Clear Wink of Stella Pens

Accessories: Silver Ribbons (Retired) both from Stampin' Up, Baby Blue Liquid Pearls, Silhouette Die Cuts - Snowflake Frame & Snowflake Swirl

Copics Used:
Skin - E000, E00, E21, E11, E04, R20, R30
Hair - E42, E43, E44, E47
Eyes - B14, B16, B18
Dress - B91, B93, B95, B97, B99
Light Blue Flowers - B0000, B00, B01, B02
Roses - B34, B37, B39
Leaves & Stems - BG93, BG96
Fur Wrap - BG0000
Dotty Background - B34, B21, B41, B02, B60

And that's all from me for this post folks! Thanks for stopping by and don't forget to pop on over to the Art by MiRan Facebook group and check out all the other gorgeous cards from the DT and why not join in the fun whilst you are there too?!

The Outlawz Friday Colouring Challenge - Make A Hat Day

Good Morning and welcome to my DT post for this week's challenge at The Outlawz Friday Colouring Challenge. This week we are celebrating National Make A Hat Day on September 15th, so we want you to use a hat on your project. You could use an image with a hat in it, make a hat, decorate a hat and anything else you can think of to do with hats!

I used the gorgeous The Gift image from our sponsor this month Norma Burnell, who is generously giving away 3 digis to the winner. I kept to a traditional Christmas colour scheme of reds and green and kept it fairly simple, seeing as the image is very detailed.


Recipe:

Stamps: The Gift from Norma J Burnell

Papers: Real Red, Old Olive & Holiday Treasures DSP (Retired) all from Stampin' Up, Copic X-Press It Blending Card

Inks: Copic Markers, Golden Star Gelly Roll Pen

Accessories: Bravo Burgundy Ribbon (Retired) from Stampin' Up, Brads from stash, Silhouette Die Cuts (Sentiment, Holly Leaves & Poinsettias)

Copics Used:
Skin - E000, E00, E21, E11, E04, R20, R30
Cardinals - R56, R59
Berries, Poinsettias & Lips - R35, R37, R39
Hair - E23, E25, E27, E29
Top - YG11, YG13, YG177, R35, R37, YG95, YG97
Leaves - G14, G17
Hat - YG61, YG63, YG95, YG97, R35, R37
Necklace - R37, R39, YG63
Bauble - R37, R39, YG61, YG63, YG95, YG97

And that's all from me for this post folks! Thanks for stopping by and don't forget to pop on over to The Outlawz Friday Colouring Challenge and check out all the other gorgeous cards from the DT and why not join in the fun whilst you are there too?!
One Sweet Pea Challenge for September - Hallowe'en or Hallowe'en Colours

Good Morning! I was asked by Lynette a little while ago to join the One Sweet Pea Challenge Design Team and as I love so many of the Sweet Pea Stamps images, I just couldn't say no! So here I am with my very first challenge entry and this month is one of my favourite challenges - Hallowe'en or Hallowe'en colours of purple, green, orange and black.

Of course, I chose Hallowe'en and used this fabulous image from ArtHouse Designs. Love the cute and adorable faces on these supposedly scary creatures. I added lots of Hallowe'en themed die cuts to this one as I didn't want to take the focus off the image too much with lots of patterned papers.


This card is also for

Recipe:

Stamps: PH 935 from ArtHouse Designs @Sweet Pea Stamps

Papers: Pumpkin Pie, Basic Black, Daffodil Delight, Whisper White, Old Olive, Howlstooth & Scaringbone DSP (Retired) all from Stampin' Up, Copic X-Press It Blending Card

Inks: Copic Markers, Silver Star Gelly Roll Pen

Accessories: Silhouette Die Cuts (Bats, Ghosts, Pumpkins & Happy Hallowe'en Border)

Copics Used:
Vampire's Skin - E0000, E000, E00, E01
Vampire's Hair & Suit - C3, C5, C7, C9
Vampire Red - R32, R35, R37
Frankenstein's Monster's Skin - G000, G00, G02
Frankenstein's Monster's Hair - C3, C5, C7, C9
Frankenstein's Monster's T-shirt - W1, W3, W5, BV11, BV13, BV17
Frankenstein's Monster's Trousers - W3, W5, W7, W9
Frankenstein's Monster's Jacket - YG93, YG95, YG97
Frankenstein's Monster's Bolts - T4, T6
Pumpkins - YG61, YG63, YR14, YR16, YR18, Y1, Y17
Ghost - T1, BV11, BV13, BV17
Moon - T1, T2, T4
All Eyes - Y13, Y17
All Mouths - R30, R32, C5
Grass - G07, G17, G29, G05, G85, G14
Sky - B14, B16, B18, B29, B37, B99, B39

Phew that's a lot of Copics! And that's all from me for this post folks! Thanks for stopping by and don't forget to pop on over to the One Sweet Pea Challenge blog and check out all the other gorgeous cards from the DT and why not join in the fun whilst you are there too?!

The Paper Nest Dolls Challenge #9 Anything Goes

Good Morning and welcome to my post for the new challenge at The Paper Nest Dolls. As always our challenge is anything goes and this month I decided to make another boy card. Christine draws the most adorable boy images and they actually make boys' cards really easy to do. I used to hate making boys' cards but not so much any more with these cuties!

I used the cute Captain Owen for my card this month and added some Silhouette die cuts and patterned papers with the nautical theme as well.


This card is also for 

Recipe:

Stamps: Captain Owen from The Paper Nest Dolls

Papers: Tempting Turquoise, Night of Navy, Basic Grey & Chocolate Chip all from Stampin Up, Copic X-Press It Blending Card, Seashore Paper Bloc from Joy Crafts

Inks: Copic Markers

Accessories: Silhouette Die Cuts (Anchor, Ship Wheel, Waves Border, Flags, Sentiment)

Copics Used:
Skin - E000, E00, E21, E11, E04, R20, R30
Hair - E51, E53, E55
Boat - E31, E33, E35, E37, E39
Heart, Ship's Wheel & Flagpole - E55, E57, E59
Dog - E70, E71, E74, E77, R20, R30
Flag - R32, R35, R37, R39
Navy Trims & Dog Collar - B34, B37, B39
Sea - B01, B02, B04, B05
Telescope - T2, T4, T6
Clouds - C00, C1, C3
Sky - BG10, BG11

And that's all from me for this post folks! Thanks for stopping by and don't forget to pop on over to the Paper Nest Dolls Challenge Blog and check out all the gorgeous cards from the rest of the DT and why not join in the fun whilst you are there!

New Release Day at The Paper Nest Dolls

Good afternoon and welcome to an extra post from me for The Paper Nest Dolls. Today is the new release day and Christine has released some fabulous new stamps this month. I chose to use the gorgeous Watermelon Ellie as I knew I had some perfect papers, stamps and sentiment to go with her from my Papertrey Ink addiction days (hence why I have so many of their stamp sets!).

I used some gorgeous watermelon colours and had to make a semi-circle card as a slice of melon might look too!


Recipe:

Stamps: Watermelon Ellie from The Paper Nest Dolls, Fruit Fusion: Melon from Papertrey Ink

Papers: Simply Chartreuse, Berry Sorbet & Fruitti Tutti Patterned Papers all from Papertrey Ink, Whisper White from Stampin' UP, Copic X-Press It Blending Card

Inks: Simply Chartreuse & Berry Sorbet both from Papertrey Ink, Copic Markers

Accessories: Fruit Fusion: Melon Die from Papertrey Ink, Silhouette Die Cuts (card base, semi Circles, Oval Frame, Oval)

Copics Used: 
Skin - E000, E00, E21, E11, E04, R20, R30
Hair - E43, E44, E47, E49
Pink - R12, R14, R17
Green - YG21, YG23, YG25

And that's all from me for this post folks! Thanks for stopping by and if you pop on over to the Paper Nest Dolls Blog you will see all the other creations from the Creative Design Team and the blog hop they are having over there too.

Reading Is Dreaming With your Eyes Open

At my school, we are having a Year of Reading to try and promote reading a bit more for our children. Lots of them don't necessarily read for enjoyment, so we are having lots of fun competitions and challenges to try and encourage them to read more often. I thought I would make a cute little wall plaque to decorate my reading corner in my classroom for something different to do.

I used the gorgeous Bookworm Fairy from Hannah Lynn for this one. I thought she looked a bit lost in her daydreams with her book reading, so this sentiment went perfectly with her!


This wall plaque is for 
Creative Inspirations Challenge #313 Shabby Chic (all my edges are distressed with a distressing tool and inked too)

Recipe:

Stamps: Bookworm Fairy from Hannah Lynn

Papers: So Saffron, Marina Mist & Whisper White all from Stampin' Up, White Blossom Shoreline Treasures Patterned Papers from Pion Designs, Copic X-Press It Blending Card

Inks: Antique Linen Distress Ink from Tim Holtz, Copic Markers

Accessories: Marina Mist Ribbon (Retired), Whisper White Baker's Twine & Subtles Buttons all from Stampin' Up, White Glitter Glue from Hobbycraft, Silhouette Die Cuts (Circles, Doily, Sentiment)

Copics Used:
Skin - E000, E00, E21, E11, E04, R20, R30
Hair - E42, E43, E44, E47
Lips - R20, R22
Eyes - YG93, YG95, YG97
Top & Sleeves - B91, B93, B95, Y21, Y23
Glasses - B93, B97
Wings - B93, B95, B97, B99, Y21, Y23, Y26
Book - E40, E41, Y15, Y17
Butterfly - B95, B97, B99, Y21, Y23, Y26
Key & Lantern - W1, W3, W5
Lantern Light - Y21, Y23
Worm - E44, E47, E49
Pencil - Y15, Y17, R22

And that's all from me for today folks! Thanks for stopping by! 

Gabbie the Mermaid

This month's Faery Ink Facebook challenge is to create a scene and what better image to use than Gabbie the Mermaid! A fairly easy scene to create as well. I pulled out my Silhouette machine for this one and whilst it cut the fishes, seahorse and shells perfectly, boy did it have a hard time doing the seaweed! These were the best cuts of the bunch and they are far from perfect! I really want to like this machine but it just cannot cut anything with any sort of detail in it! So frustrating as that was what it was bought for! Grr!

I couldn't get my flicks to flick in her hair either! The sand and sea were all done with the stippling technique and I totally love how it all came out!


This card is also for 

Recipe:

Stamps: Gabbie the Mermaid from Faery Ink, Computer Generated Sentiment

Papers: Tempting Turquoise, Green Galore (Retired), Orchid Opulence (Retired), Pumpkin Pie, Calypso Coral, Pink Flamingo DSP (Retired) & Kaleidoscope DSP (Retired) all from Stampin' Up, Copic X-Press It Blending Card

Inks: Copic Markers

Accessories: Die-Namics Waves Border Die from MFT, Silhouette Die Cuts (Shells, Fish, Seaweed & Seahorse)

Copics Used:
Skin - E000, E00, E21, E11, E04, R20, R30
Hair - V01, V04, V05, V06, V09
Eyebrows - V04, V05, V06
Eyes - YG03, YG06, YG17
Lips - RV63, RV66, RV69
Tail - YG21, YG03, YG06, YG17
Orange - YR00, YR61, YR02, YR16
Sand - YR31, YR21, YR23, YR24
Sea - BG0000, BG000, BG01, BG02, BG05, BG07
Seaweed - BG93, BG96, BG99

And that's all from me for this post folks! Thanks for stopping by.

Sassy Studio Designs Flashback Friday - Steampunk Amelia

Good Morning and welcome to another post from me for Sassy Studio Designs. This post is for today's Flashback Friday and another steampunk themed image for you. This time it is Steampunk Amelia.

May 1st must be a crazy day as I have so many DT posts due today, so they cannot all be published at the same time. Some will have to be later than they should, so apologies to everyone!

I went for a more CAS style for this one - so not like me I know, but I found this Steampunk cogs background that I had previously cut with my Silhouette Portrait and didn't use and wanted to keep as much of it on show as possible. I sprayed it with some Silver Cosmic Shimmer Mist, added some ribbon and a buckle to imitate the ones in the image and that was it really. Nice and simple.


Recipe:

Stamps: Steampunk Amelia from Sassy Studio Designs, Thanks All Ways from Papertrey Ink

Papers: Perfect Plum, Basic Grey & Whisper White all from Stampin' Up, Elderberry Patterned Papers from Perfect Prints, Other Patterned Paper free from the internet, Copic X-Press It Blending Card

Inks: Perfect Plum from Stampin' Up, Copic Markers, Silver Star Gelly Roll Pen

Accessories: Basic Grey Ribbon from Stampin' Up, Buckle and Brads from stash, Oval and Scalloped Oval Nestabilities both from Spellbinders, Silver Cosmic Shimmer Mist, Steampunk Cogs Background Die Cut from Silhouette Studio

Copics Used:
Skin - E000, E00, E21, E11, E04, R20, R30
Hair - C3, C5, C7, C9
Eyebrows - C5, C7
Purple - V20, V22, V25, V28
Purpley-Grey  - BV20, BV23, BV2, BV29

And that's all from me for this post folks! Thanks for stopping by and don't forget to pop on over to the Sassy Studio Designs blog and check out all the other gorgeous cards from the DT for this week's Flashback Friday. 

24 Carat Bunny Boo

Tamara of Slinky Tart released this gorgeous 24 Carat Bunny Boo just in time for Easter and I just had to use her for my boyfriend's Easter card and I thought he might appreciate this sexy bunny digi more than a cutesy one. She does remind me of Marilyn Monroe as a Playboy Bunny girl!

My Silhouette machine did play up a bit on this one, but for some reason as soon as I did a practice cut on some copy paper rather than trying card for the third time, it just seemed to work perfectly. Cutting where it was supposed to cut without messing up too. Bizarre!


This card is for...

Recipe:

Stamps: 24 Carat Bunny Boo from Slinky Tart, Polka Dot Parade #1 from Papertrey Ink

Papers: So Saffron, Pale Plum (Retired) & Subtles DSP Stack (Retired) all from Stampin' Up, Copic X-Press It Blending Card

Inks: Pretty in Pink (Retired) from Stampin' Up, Copic Markers

Accessories: White Glitter Glue from Hobbycraft, Silhouette Die Cuts (Egg Doily base, Egg Shapes and mounts

Copics Used:
Skin - E000, E00, E21, E11, R20, R30
Hair - YR31, Y21, Y23, E31, E33
Eyes - E31, E33, E35
Bodysuit and Shoes - R81, R83, R85
Yellow on Egg - Y21, Y23, Y26
Purple - V22, V25, V28

And that's all from me for today folks! Thanks for stopping by.

Hearts Quest Fantasy Challenge #53 & Saturday's Crafty Creations #11 Featuring Gnometastic Birthday Surprise from Polkadoodles

Good morning! Long time no see as well. I have really struggled to find any crafty mojo over the past couple of months, but I made a few ca...